The 'Help Out' Guide
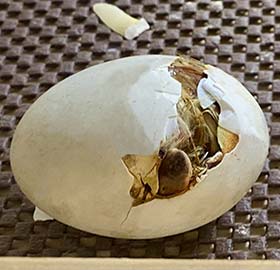
The consensus among backyard chicken keepers is that you should not assist a chick hatching, but many people do if incubation hasn’t been optimal.
In this guide, Gail Damerow will help us to understand why a chick can’t always make it out on its own, why it’s not usually a good idea to intervene, and if you do decide to assist, how to help a chick hatch.
Why it happens
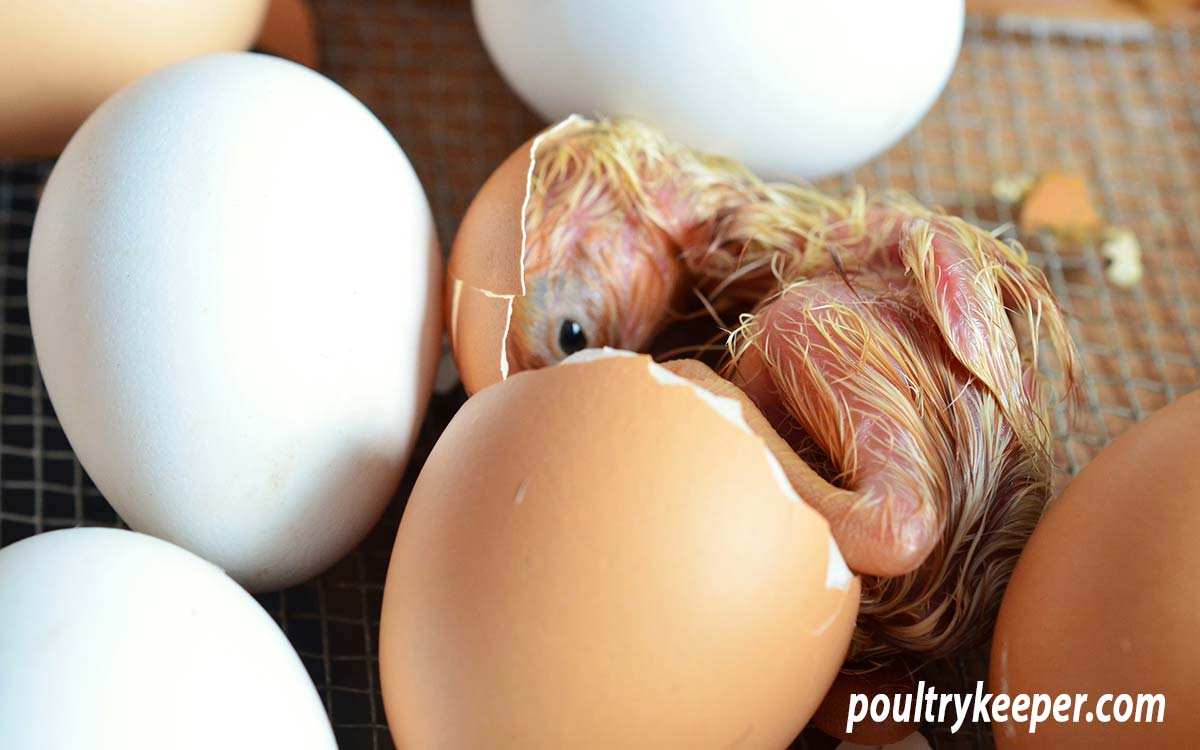
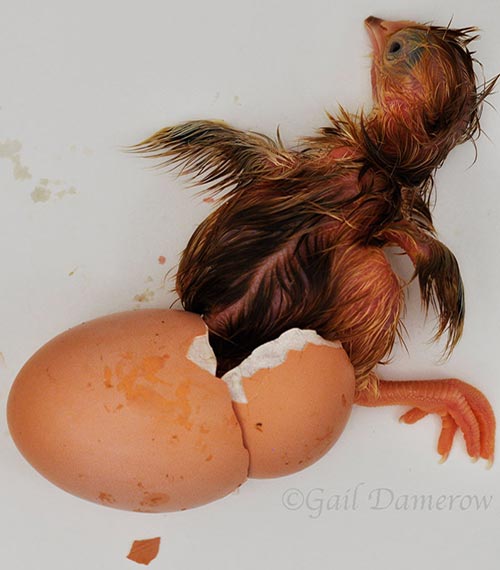
Help-out is a term used to describe an about-to-hatch incubated chick that can’t get free of the shell without assistance. A chick may fail to free itself of the shell for many reasons. They include chick strength, chick position, air cell position, disrupted hatch, and improper incubation humidity.
Weak chick
A chick that successfully frees itself from the shell becomes exhausted from the effort. Sometimes a chick is simply not strong enough, getting exhausted before it completes the task.
Poor chick position
An about-to-hatch chick should have its head under its right wing, ready to break through the shell membrane into the air cell. A chick with its head under its left wing or between its legs cannot turn its head to break around the shell. Reasons for malpositioning include high incubation humidity, pointy end of the egg higher than the blunt end during incubation, or eggs still being turned while the bird tries to reposition before hatching.
Poor air cell position
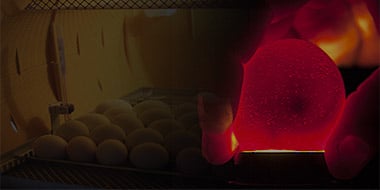
If the air cell is not at the blunt end of the egg, a chick has too little room to turn its head and break the shell all the way around. Causes for poor air cell position include improper turning or positioning eggs on the hatching tray with the blunt end lower than the pointed end.
Disrupted hatch
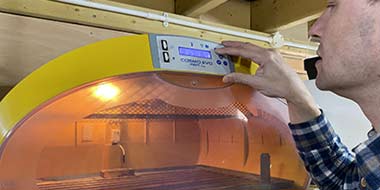
Opening the incubator during a hatch affects both temperature and humidity. Chicks that get chilled may stop attempting to hatch until they warm back up. Reduced humidity can dry out shell membranes, causing them to bind and limit movement.
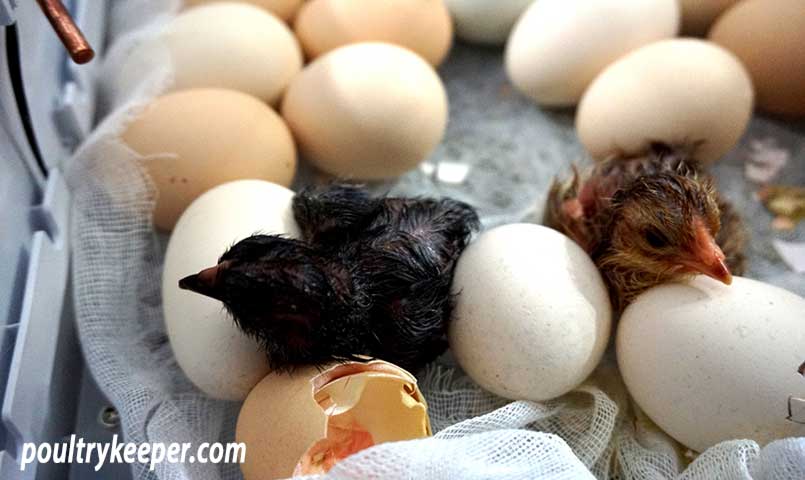
Incubation humidity
Before we get to how to help a chick hatch, let’s recap what we know about incubation humidity.
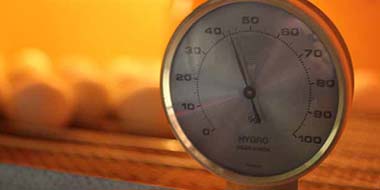
During incubation, the drier the air inside the incubator, the quicker moisture will evaporate from eggs through their shells. The moister the air, the more slowly moisture evaporates from the eggs. For a successful hatch, moisture must evaporate from eggs at just the right rate.
Too low
At a too-low incubation humidity, embryos in the early incubation stage may stick to the shell membrane and die. Those that continue to grow may be small and too weak to pip, may pip and not hatch, or may crack the shell all the way around but be unable to free themselves before the membrane dries out. Low humidity will result if the surface area of the water container is too small, or the water gets coated with fluff, preventing evaporation and causing humidity to plummet.
Too high
At too-high humidity, the air cell may remain too small to provide enough oxygen, suffocating the chick. Or the shell membrane may be too rubbery for the chick to punch through. In both cases, the chick has no chance to pip. High incubator humidity can be caused by high ambient humidity or poor incubator ventilation.
Tip: Fluctuations in humidity
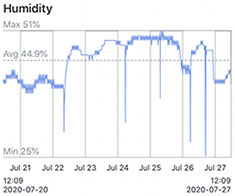
Don't worry about short term variations in humidity; it's the average humidity over the incubation period that needs to be right to achieve a successful hatch.
The Incubation humidity guide provides more details.
Humidity during the hatch
Humidity should be higher during the hatch than during incubation. For instance, an incubator that calls for about 60% relative humidity during incubation should be increased to 70% for the hatch. A wet-bulb reading of 30–31°C (86 to 88°F) during incubation typically would be increased to 31–33°C (88 to 91°F) during the hatch. An incubator’s instruction manual usually offers details for the particular model.
Waterfowl eggs, and smaller eggs laid by bantams and guinea fowl, require more humidity at hatch than other eggs.
All eggs require more humidity as summer progresses and shells become more porous. Adequate humidity during the hatch prevents shell membranes from drying and sticking to the emerging chicks, which effectively wraps them in a straitjacket and prevents them from getting out of the shell.
Helping chicks out of eggs is not a great idea
When incubation conditions are optimal, failure to hatch could be a hereditary issue. In such a case, helping chicks out of eggs is not a great idea because a help-out may not live long. Even if it survives, a chick that’s not strong enough to hatch likely will have other health issues during its lifetime. And as a breeder, it may produce more weak chicks that have trouble hatching.
Aside from hereditary issues, a help-out often has crooked feet or a twisted neck. It may be unable to stand, which makes walking and eating difficult or impossible. If you are tempted to help a chick get free of the shell, be prepared to care for a special-needs bird.
Too, opening the incubator to help one chick contributes to the problem by reducing humidity. You thus may lose chicks that would have successfully hatched had you left the first one alone.
Other useful articles & guides:
- Incubation Troubleshooting Guide - If your hatch didn't go to plan, this will help you to figure out what went wrong.
- Incubation Humidity - Often the most difficult thing to get right for a successful hatch.
- Setting Up a Brooder - How to raise your chicks once they hatch.
How to assist a chick hatching
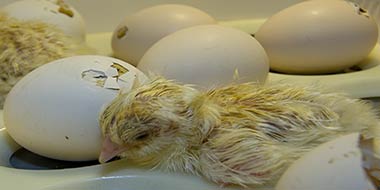
When an egg is ready to hatch, the chick inside breaks an initial hole through the shell. From the appearance of this pip until the chick chips all the way around the shell and finally kicks free takes anywhere from a couple of hours to a full day. Just because a chick has stopped chipping away at the shell doesn’t mean it quit altogether. It could be taking a needed rest.
On the other hand, if chicks are still hatching, but one has been “resting” for more than 12 hours, it may have given up. It may be too weak to hatch, meaning it is likely too weak to survive once out of the shell. Should you decide to proceed anyway, you will need to know how to help a chick hatch, so here are a few important rules to follow:
- Do not lend assistance unless a shell has been pipped. A chick that is underdeveloped or too weak to pip is unlikely to survive.
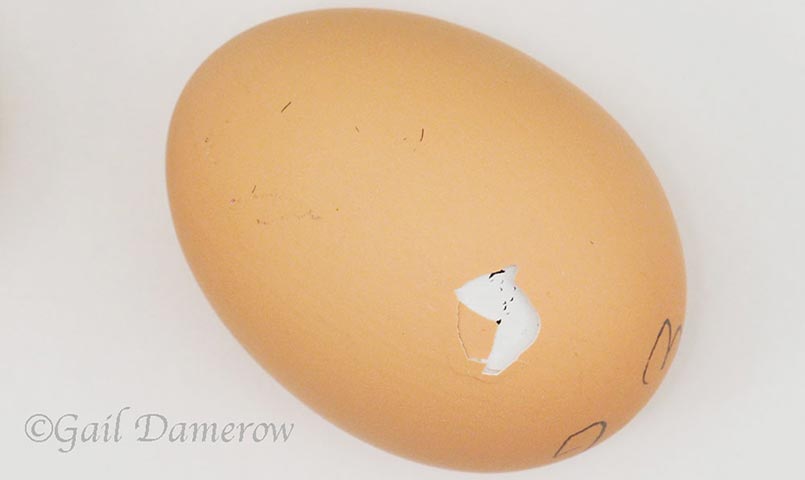
- Once the shell is pipped, if the bird continues to struggle without success, use a pair of tweezers to chip the shell away from the pip. Work gently.
- If you see blood, stop and wait a few hours. A help-out that haemorrhages can bleed to death.
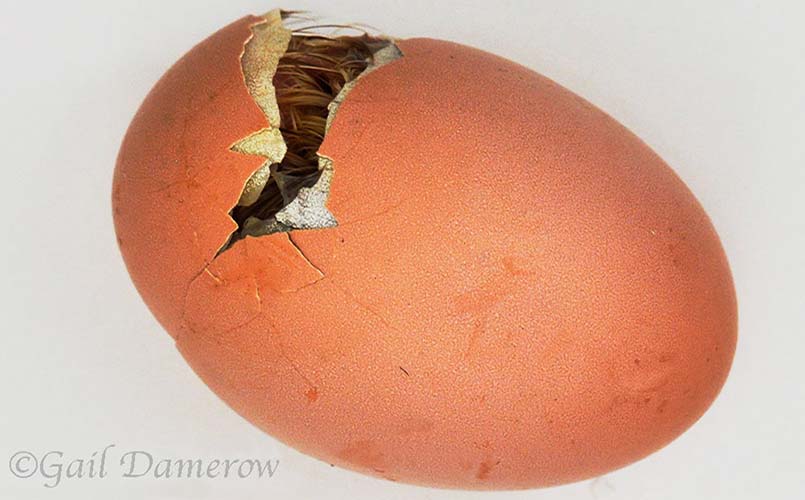
- A shell membrane that has dried out — changing from translucent white to parchment tan — should be gently moistened. Wrap the egg in a warm (not hot) damp (not wet) washcloth. Avoid dripping water into the pip, or you run the risk of drowning the bird. As the membrane softens, use tweezers to peel small bits away from the chick. Softening the membrane until it comes free can take a fair amount of time.
- Never tug on dried shell membrane or partially softened membrane that doesn’t easily come off. Pulling off a stuck membrane can tear the chick’s skin or open a blood vessel, resulting in wounds or bleeding.
- Once the chick is free of the membrane and shell, return it to the incubator to warm up and rest.
The secret to helping chicks out of eggs?
The secret to helping chicks out of eggs is knowing when to lend a hand and when to wait and see.
A better plan is to run the incubator under optimal conditions, then let nature take its course. A chick that’s strong enough to break out of the shell on its own is more likely than a help-out to become a vigorous and healthy bird.
Recommended reading:
If you would like a reference book on incubating and hatching, then look no further than Gail's book "Hatching & Brooding Your Own Chicks". This indispensable reference covers everything you will need to know about incubating, hatching and raising chickens, turkeys, ducks, geese, and Guinea fowl.
