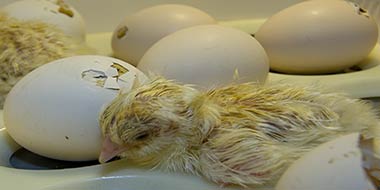
Eggs are porous, so moisture is lost from inside the egg during incubation—the size of the air sac increases, and the weight of the egg decreases.
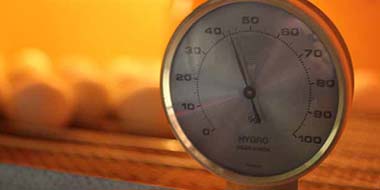
Most people monitor the humidity inside the incubator, which should result in the correct incubation weight loss. Still, the porosity of eggs varies with size, age and as the season progresses.
This article describes egg incubation weight loss for setting the right humidity in your incubator.
For rare or expensive eggs, or if you’re struggling to get a reasonable hatch rate and suspect that humidity is a problem, then the most accurate method is to weigh your eggs and adjust humidity to achieve the correct weight loss over the incubation period.
Incubation humidity
I assume you understand incubation humidity reasonably well (if you don’t the link will take you to my guide, which covers it in a lot of detail).
To recap:
After an egg is laid, it starts to lose moisture slowly through the porous eggshell. As it does, the membrane inside the shell begins to shrink, and the air sac (the pocket of air at the broad end of the egg) increases in size and the egg’s weight decreases.
Inside an incubator, the humidity of the air determines how quickly the moisture evaporates:
- High Humidity = slow evaporation and weight loss.
- Low Humidity = fast evaporation and weight loss.
For a successful hatch, moisture must evaporate at just the right rate over the incubation period. That gives the correct weight loss.
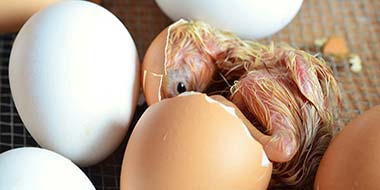
If the humidity is too low, it can inhibit a chicks’ ability to break free from the shell at hatching time.
If the humidity is too high, it can lead to mush chick disease and chicks that are too large. Often the air sac is too small, and they suffocate or cannot break free of their shell.
Incubation weight loss
Instead of monitoring the humidity and hoping to achieve the correct weight loss, we can instead, weigh the eggs and set the humidity to achieve the proper weight loss. First, we need to know what the ideal weight loss is when incubating eggs.
What is the expected weight loss during incubation?
The expected weight loss for poultry and waterfowl eggs from the start of incubation to the point where egg turning ceases is 11 to 13%.
There are many other recommendations for percentage egg weight loss bouncing around the internet, mostly higher.
Higher percentage weight loss does occur over the entire incubation period. Still, I don’t recommend you use that because once we stop turning eggs (day 18 for chickens) and go into ‘lockdown’, we must increase the humidity, so it’s too late to make adjustments at this point.
Also, it’s worth knowing that when a chick pips internally (pokes its beak into the air sac) and starts to breathe, weight loss increases suddenly and the egg can lose another 5% over those last few days so it’s better, to stop measuring weight loss before this happens.
How to calculate egg incubation weight loss
To check if the humidity is correct, we can use an Excel spreadsheet to plot a graph of the expected weight loss over the incubation period.
We can measure our eggs’ weight and compare this with the eggs’ ideal weight loss.
We can adjust the humidity to compensate for any less than ideal deviations.
An example of an egg weight loss calculation
The example on the spreadsheet shows how this method can be put into practice when hatching chickens. The same technique applies to other eggs; use the same weight loss to the point where you stop turning the eggs in the incubation period.
You will need some accurate digital scales, or you can weigh a batch of eggs on kitchen scales and take an average if all of the eggs are similar in age.
Weigh eggs at the same time of day
To ensure your measurements are accurate, weigh your eggs at the same time every day.
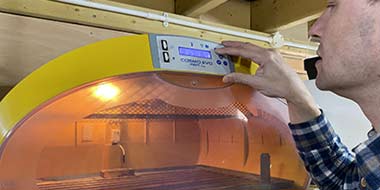
1. Set the incubator to the correct temperature (in this case 37.5°C), and allow it to settle for a few hours, then set the humidity to 45-50%.
2. Allow 24 hours for everything to settle. During this time, if eggs have travelled through the post, leave them to rest and to reach room temperature. Store them pointed end facing downwards.
3. Weigh your eggs and record their combined weight. You can use kitchen scales or weigh them individually if you have accurate scales.
4. Open the spreadsheet and enter the number of eggs and Day 1 weight.
5. Continue to weigh eggs every day or two. Enter the weight on the spreadsheet. If this deviates from the ideal weight loss, adjust the humidity slightly to compensate.
Tip: Humidity adjustment
If the measured weight loss is greater than the ideal weight loss, the humidity level has been too low and needs increasing to compensate. If the measured weight loss is less than the ideal weight loss, then the air has been too humid and humidity needs reducing to compensate.
6. Candle on Day 7. Remove infertile and bad eggs. Enter the new combined weight and number of eggs.
7. Continue to enter the weight and adjust humidity until day 18, when you stop turning and go into lockdown.
Incubation lockdown
Once you get to lockdown on days 19-21, stop turning your eggs and increase the humidity to at least 60%. As the name suggests, the incubator door should not be opened during this time.
If your egg weights came in close to the ideal, you should have a successful hatch. Books I’ve read suggest an improvement in hatch rates of 10%; however, I have seen people getting their incubator humidity completely wrong with low hatch rates of 20% go to 80% and higher!
I would also suggest you read my in-depth guide to incubation humidity because this will help you to measure humidity accurately in your incubator and understand the variations you will see.
Good luck with your hatch, and don’t forget to leave me a comment below telling me how you got on.

